All cards I made in 2009 and 2010 were for personal use, but in 2011 I discovered Operation Write Home, an organization which sends hand-crafted cards to deployed service personnel to use when they write home. In 2011 I sent 280 cards, but this is the first photo I took of my work. It's evident that I was still in the beginning stages of this process. I see cards made using elements that OWH no longer accepts. There are also some flowers I made that might have been too thick to send through the mail. About half the cards shown wouldn't be accepted today under their current guidelines.
I see some that have elements arranged so there's a focal point, but not all. Some have layered elements, but not all. Things were progressing, however.
This is the year I bought my Cricut machine and two additional cartridges. The fourth row from the right has those cards. Believe it or not, this is the first and last time I used the thing. It's in the guest bedroom in the box it came in. Maybe someday I'll get it out, but in the meantime, there are so many punches, Cuttlebug dies, embossing folders, stamps, and digital images to use that the Cricut will most likely be very lonely for a very long time in the other room.
Wednesday, April 23, 2014
Why Layer a Photo and Sentiment?
In the last post I mentioned the first cards I made didn't have contrasting layers behind the patterned paper, image, or sentiment. Here is how I helped the ladies at the nursing home understand the value of layering.
These ladies are residents in the nursing and rehabilitation center where my mother stayed and where I continue to volunteer by holding a monthly greeting card class.
The ribbon definitely isn't the best since there's little contrast between it and the card itself, but the picture and sentiment stand out so well with matted card stock behind them. It does make the point clearly that a mat behind a card element can be your friend! This is one of the most valuable lessons I learned from Sandy Allnock and her team at the Stars and Stamps blog at Operation Write Home.
These ladies are residents in the nursing and rehabilitation center where my mother stayed and where I continue to volunteer by holding a monthly greeting card class.
The ribbon definitely isn't the best since there's little contrast between it and the card itself, but the picture and sentiment stand out so well with matted card stock behind them. It does make the point clearly that a mat behind a card element can be your friend! This is one of the most valuable lessons I learned from Sandy Allnock and her team at the Stars and Stamps blog at Operation Write Home.
Tuesday, April 22, 2014
A Complete Beginner - 2009 and 2010 Cards
My first cards were made in 2009 to send to church members who were shut ins. They were all so very gracious when they received my first attempts at hand crafted cards. I used commercial card fronts trimmed down, a variety of fibers, and card construction techniques from YouTube. There are only a few remaining, but here they are in all their non-glory.
From 2009, made with a Martha Stewart kit I won at the Old Rock School all-day crop.
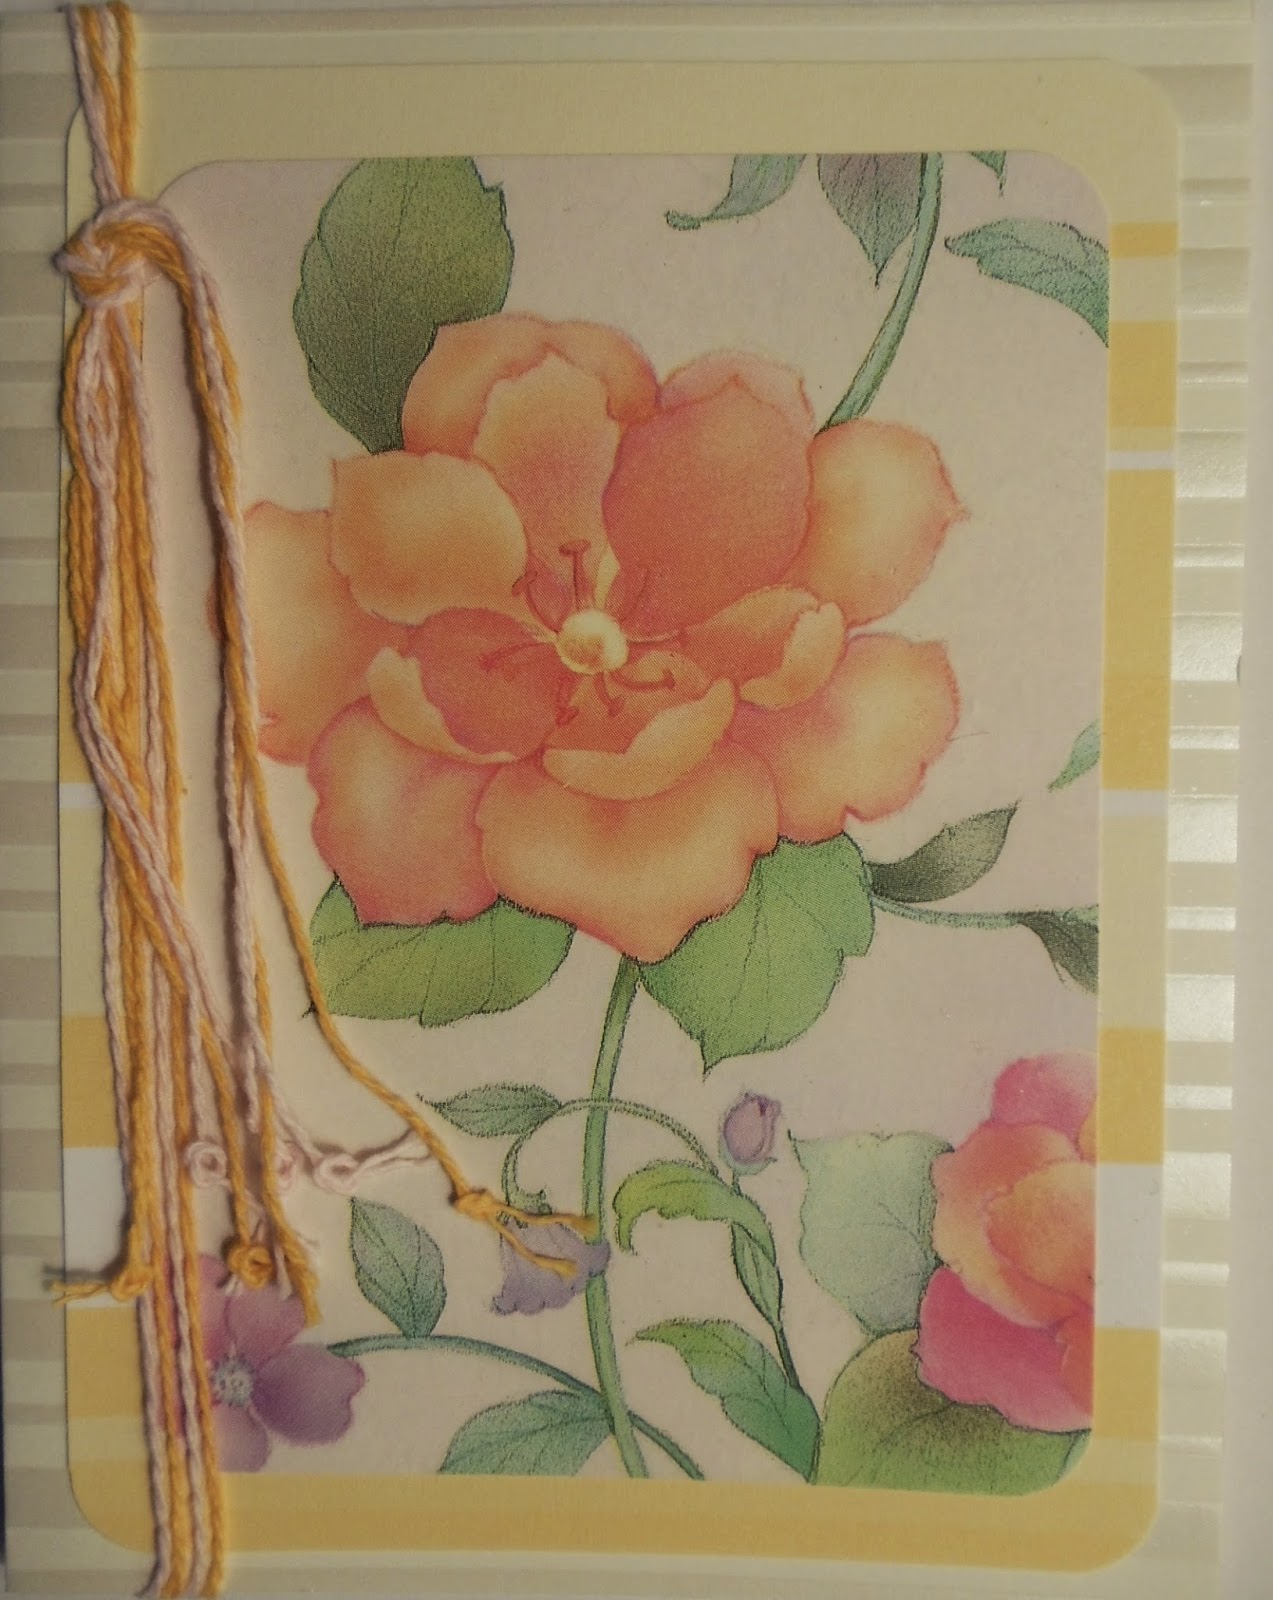
I found a wedding invitation kit at the Foothills Thrift Store and used the blanks for the card bases, adding some patterned paper (note the lack of contrast), a card front trimmed to size, and some yellow and white threads from the Holly Bee shop. This card was made in 2010 before I sent cards to Operation Write Home and before I knew about focal points, contrast, and the magic of matting photos and papers.
From 2009, made with a Martha Stewart kit I won at the Old Rock School all-day crop.
I found a wedding invitation kit at the Foothills Thrift Store and used the blanks for the card bases, adding some patterned paper (note the lack of contrast), a card front trimmed to size, and some yellow and white threads from the Holly Bee shop. This card was made in 2010 before I sent cards to Operation Write Home and before I knew about focal points, contrast, and the magic of matting photos and papers.
Monday, April 21, 2014
I've figured out how to include photos...baby steps for this new blogger
It was Internet Explorer that was the problem yesterday. Downloading Firefox did the trick!
Here are some samples of my greeting cards, Japanese temari, and knitting which will be posted here.
This card uses the Inchies Sketch from the OWH Labor Day 2013 Virtual Card Making Party. Papers and the ribbon are from a variety of sources, and the snowflake embossing folder is from the Cuttlebug "Winter Wonderland" set.
This temari is one Gloria A. and I stitched in June of 2013 from a photo she found at NanaAkua's Flickr site. We worked out together how to stitch it, and I used this as the model for a stitch along at the Yahoo Talk Temari group earlier this year. Look for the instructions soon in the patterns section at TemariKai .
Here's the Day 1 pattern for the 2013 Advent Scarf found at Ravelry . I did the first three days and changed my mind about the yarn. Instead of using this Cascade Alpaca Lace as a single strand, I'm now using it doubled. (Colorway 1434, Mauve Heather) The spacers include Toho silver-lined glass beads. Although it's one pattern per day for the 24 days of Advent, it's now April 21 and I'm still on Day 6.
Here are some samples of my greeting cards, Japanese temari, and knitting which will be posted here.
This card uses the Inchies Sketch from the OWH Labor Day 2013 Virtual Card Making Party. Papers and the ribbon are from a variety of sources, and the snowflake embossing folder is from the Cuttlebug "Winter Wonderland" set.
This temari is one Gloria A. and I stitched in June of 2013 from a photo she found at NanaAkua's Flickr site. We worked out together how to stitch it, and I used this as the model for a stitch along at the Yahoo Talk Temari group earlier this year. Look for the instructions soon in the patterns section at TemariKai .
Here's the Day 1 pattern for the 2013 Advent Scarf found at Ravelry . I did the first three days and changed my mind about the yarn. Instead of using this Cascade Alpaca Lace as a single strand, I'm now using it doubled. (Colorway 1434, Mauve Heather) The spacers include Toho silver-lined glass beads. Although it's one pattern per day for the 24 days of Advent, it's now April 21 and I'm still on Day 6.
First Post, Third Attempt
Let's see if this works this time, shall we?
The purpose of this blog -- which might be short-lived -- is to establish an online record of my various creations. Japanese temari, greeting cards for Operation Write Home, and knitted projects will be featured.
I'd better post this and then try uploading photos in a new post.
The purpose of this blog -- which might be short-lived -- is to establish an online record of my various creations. Japanese temari, greeting cards for Operation Write Home, and knitted projects will be featured.
I'd better post this and then try uploading photos in a new post.
Subscribe to:
Posts (Atom)